Robot Gripper Design: Servo vs Pneumatic vs Vacuum/Suction
By Dr. Lin Chen
Choose a robot gripper design by object surface, holding force, cycle time, utilities and mobility.
Choose a gripper: quick selection
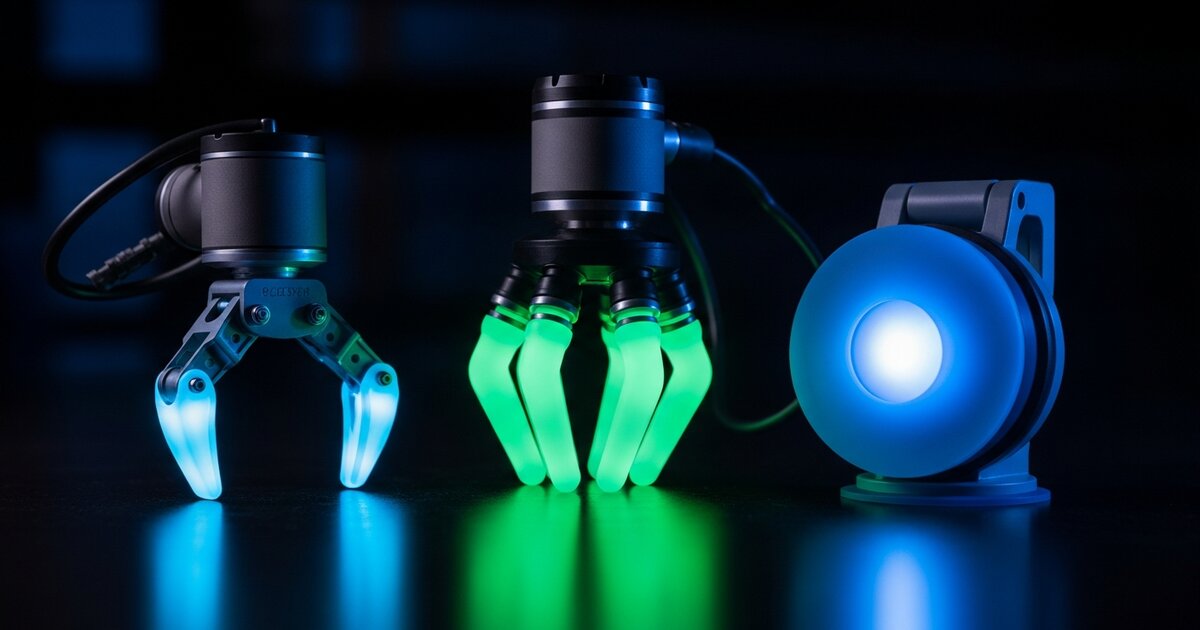
- Servo: rough/varied surfaces; motor/linkage sets force and speed. Electrical only; usually simplest for mobile robots.
- Pneumatic: repeatable/conforming grips; pressure-rated force, potentially fast cycles. Air and valves required; budget air for mobile use.
- Vacuum/suction: sealable face; cup/vacuum/seal sets force. Include evacuation/release time. Pump or ejector required; budget mobile power and leakage.
Affiliate disclosure: RoboTechJournal participates in the Amazon Services LLC Associates Program and other affiliate programs. We may earn a small commission when you buy through our links — at no extra cost to you. We only recommend products we have researched or used.
ContentsChoose a gripper: quick selection
Servo-Driven Mechanical Grippers
The most common gripper type in hobby robotics: one or more servo motors drive fingers (often two, sometimes three or more) that close around an object using mechanical linkages.
Strengths:
- Simple to control — a single PWM signal sets the grip position
- Needs an appropriate electrical supply and controller, but no compressor or vacuum pump
- Widely supported in beginner arm kits, with plenty of existing designs to reference or print
Weaknesses:
- Grip force is limited by servo torque, and cheap servos can struggle with anything heavier than light objects
- Two-finger designs can struggle with round or irregularly shaped objects, which tend to be pushed out rather than gripped securely
- No inherent feedback on grip force — without an added sensor, the gripper doesn't "know" if it's gripping too hard or too loose
Best for: most hobbyist arm projects, pick-and-place with predictable object shapes, beginner builds.
Pneumatic Grippers
Pneumatic grippers use compressed air to actuate fingers or a bellows-style gripping mechanism, requiring an air compressor or compressed air source and solenoid valves to control airflow.
Strengths:
- Can provide high gripping force, but compare rated models at the specified pressure and finger length rather than assuming pneumatic always means stronger
- Soft pneumatic grippers (using flexible bellows-style fingers) can conform to irregular object shapes remarkably well, useful for delicate or oddly shaped items
- Fast actuation — pneumatic grippers can open/close quickly
Weaknesses:
- Requires a compressor, tubing, and valves — significantly more setup complexity and noise than a servo gripper
- Less precise proportional control compared to a servo's defined angular position (many pneumatic grippers are simpler open/closed designs rather than finely variable)
- On a mobile robot, compressor or reservoir mass, energy, noise and hose routing must be budgeted explicitly
Best for: stationary workcells with compressed air, repeatable pick-and-place, or compliant fingers for irregular parts. Delicate objects still require pressure and contact-force limits; mobile installations are possible when the air supply is engineered for the task.
Vacuum (Suction) Grippers
Vacuum grippers use an electric pump or compressed-air ejector to reduce pressure inside a cup. The pressure difference across the effective sealed area produces a holding force; it is not a mechanical jaw-clamping force.
Strengths:
- Useful for smooth, non-porous faces such as glass or rigid plastic; coated cartons may be suitable, but ordinary cardboard can leak
- A simple approach motion can reduce finger-alignment work, but total cycle time includes vacuum build-up, seal confirmation and release
- Minimal moving parts compared to multi-finger mechanical grippers
Weaknesses:
- Porous or textured surfaces can need specialist cups and higher airflow; a simple cup may never reach the required vacuum
- Requires a vacuum source (pump or compressed air + venturi generator), adding setup complexity similar to pneumatic grippers
- Grip can fail if the object's surface has gaps, holes, or significant texture
Best for: parts with a suitable sealing face, including panels and selected packaging. Check leakage and cup contact on the actual material; suction can also deform thin or fragile parts.
Comparison Table
| Factor | Servo Gripper | Pneumatic Gripper | Vacuum/Suction Gripper |
|---|---|---|---|
| Setup complexity | Low | Moderate–high (air supply and valves) | Moderate–high (needs vacuum source) |
| Grip / holding force | Model-dependent jaw force: motor torque, gearing and finger leverage | Rated jaw force at a stated pressure and finger length | Vacuum holding force: depends on cup diameter, vacuum level, seal and surface; not a jaw-clamp rating |
| Works on irregular shapes | Moderate | Good (soft designs) | Poor |
| Works on flat/smooth objects | Moderate | Good | Excellent |
| Mobile robot friendly | Yes | Possible with a suitable air-supply budget; often stationary | Possible with a suitable pump, power and leakage budget |
| Beginner friendly | Yes | No | Moderate |
Vacuum force caveat: the ideal, purely static axial holding force is F = Δp × A, where Δp is the pressure difference and A is the effective suction area. Nominal cup diameter is not necessarily the effective diameter under load. This is not a safe payload rating: seal quality, surface porosity, lateral friction, cup deformation, acceleration and safety factors must also be considered. See the manufacturer's suction-cup holding-force and sizing guidance.
Practical Robot Gripper Design Constraints
- Payload and safety factor: size for the heaviest workpiece, robot acceleration, orientation and offset loads, not static mass alone. Use the supplier's derating and a safety factor appropriate to the risk assessment; there is no universal safe multiplier. Include tool mass in the arm's payload budget and validate retention on representative surfaces. Motor stall torque or theoretical suction force is not a payload rating.
- Pinch and crush safety: identify accessible finger, linkage and workpiece pinch points. Reduce force and closing speed, guard hazardous areas and provide an appropriate safe stop. Compressed air stores energy; isolate and release it before maintenance. Simply cutting power can drop the load, so plan a safe retained-load or controlled-set-down state.
- Loss-of-vacuum detection: measure vacuum near the cup and interlock lifting with a confirmed threshold. Monitor it during motion; a falling signal must trigger a risk-assessed stop or controlled set-down, not a blind retry. A check valve or reservoir can buy time but does not guarantee retention through a leaking seal.
- Force feedback and limiting: use a calibrated contact-force sensor where grasp force matters. Servo current is only an indirect estimate affected by friction, geometry and temperature; pneumatic pressure alone is not measured contact force. Combine suitable feedback with current/pressure limits, mechanical travel limits and a closure timeout. A hobby controller is not a safety-rated protective system.
These are design considerations, not measured performance results or a claim of tested payload capacity. Start with the end effector's rated data and the arm limits in our robot arm kit payload and reach comparison.
Choosing for Your Project
- First arm project, general pick-and-place: servo-driven mechanical gripper.
- Irregular or delicate objects: compliant fingers may help; choose the actuation method and force limits from the part's damage tolerance, not a blanket preference for higher force.
- Sealable flat or gently curved faces: vacuum/suction, after checking cup fit, leakage and holding-force requirements.
- Mobile robot: electrical servo actuation is often the simplest starting point. Electric vacuum pumps and onboard pneumatic supplies can also work if their mass, energy and leakage/air consumption fit the mission.
FAQ
Can a single robot use more than one gripper type?
Yes — some advanced setups use interchangeable end effectors, swapping between a mechanical gripper and a suction cup depending on the object being handled, though this adds mechanical complexity (a tool-changer mechanism) that's typically beyond beginner projects.
How do I add force feedback to a servo gripper?
A load cell or calibrated contact sensor can support a controlled closing-force limit. An FSR can indicate contact but needs calibration and has nonlinear response and hysteresis. Servo current can indicate resistance or a stall; it is not direct grip-force measurement and must be calibrated for the linkage and operating conditions. Add a closure timeout and do not treat this as a safety-rated system.
Is 3D printing a gripper design feasible for beginners?
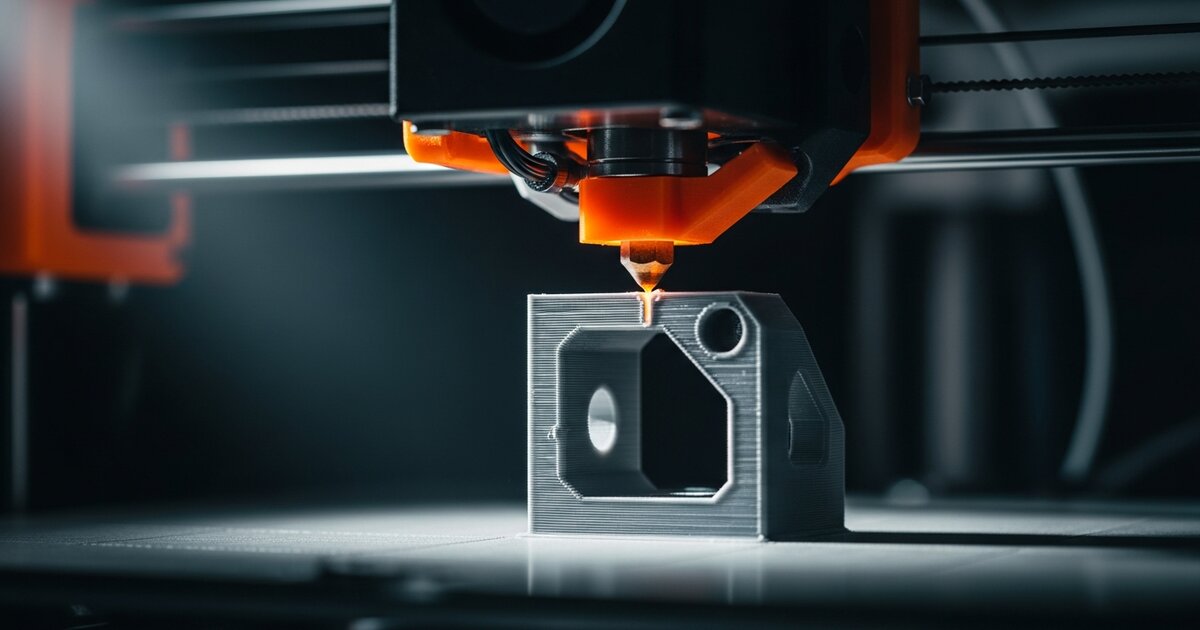
Yes, and it's one of the more popular DIY gripper projects — many open-source parallel-jaw and underactuated finger designs are available to print and adapt, often requiring only a servo and basic hardware beyond the printed parts (see our 3D printer buying guide).
Why does my suction gripper fail intermittently on the same object?
Check the vacuum trace, cup wear, alignment, tubing leaks and changes in surface contamination or porosity. Cleaning may help, but an unsuitable surface, undersized vacuum source or lateral load can require a different cup or design. Do not continue lifting until the cause and retention margin are established.
What's the cheapest way to get started with grippers?
A basic single-servo claw gripper, often included with beginner arm kits, is the cheapest entry point — it won't handle every object well, but it's sufficient for learning the basics of grasping and pick-and-place logic before investing in a more capable design.
Affiliate disclosure: RoboTechJournal participates in the Amazon Services LLC Associates Program and other affiliate programs. We may earn a small commission when you buy through our links — at no extra cost to you. We only recommend products we have researched or used.